Overview of Your Private Data Repository Binder
This tutorial provides an overview of your private data repository binder, highlighting the main features and functionalities available.
Updated 6 months ago
This tutorial provides an overview of your private data repository binder, highlighting the main features and functionalities available.
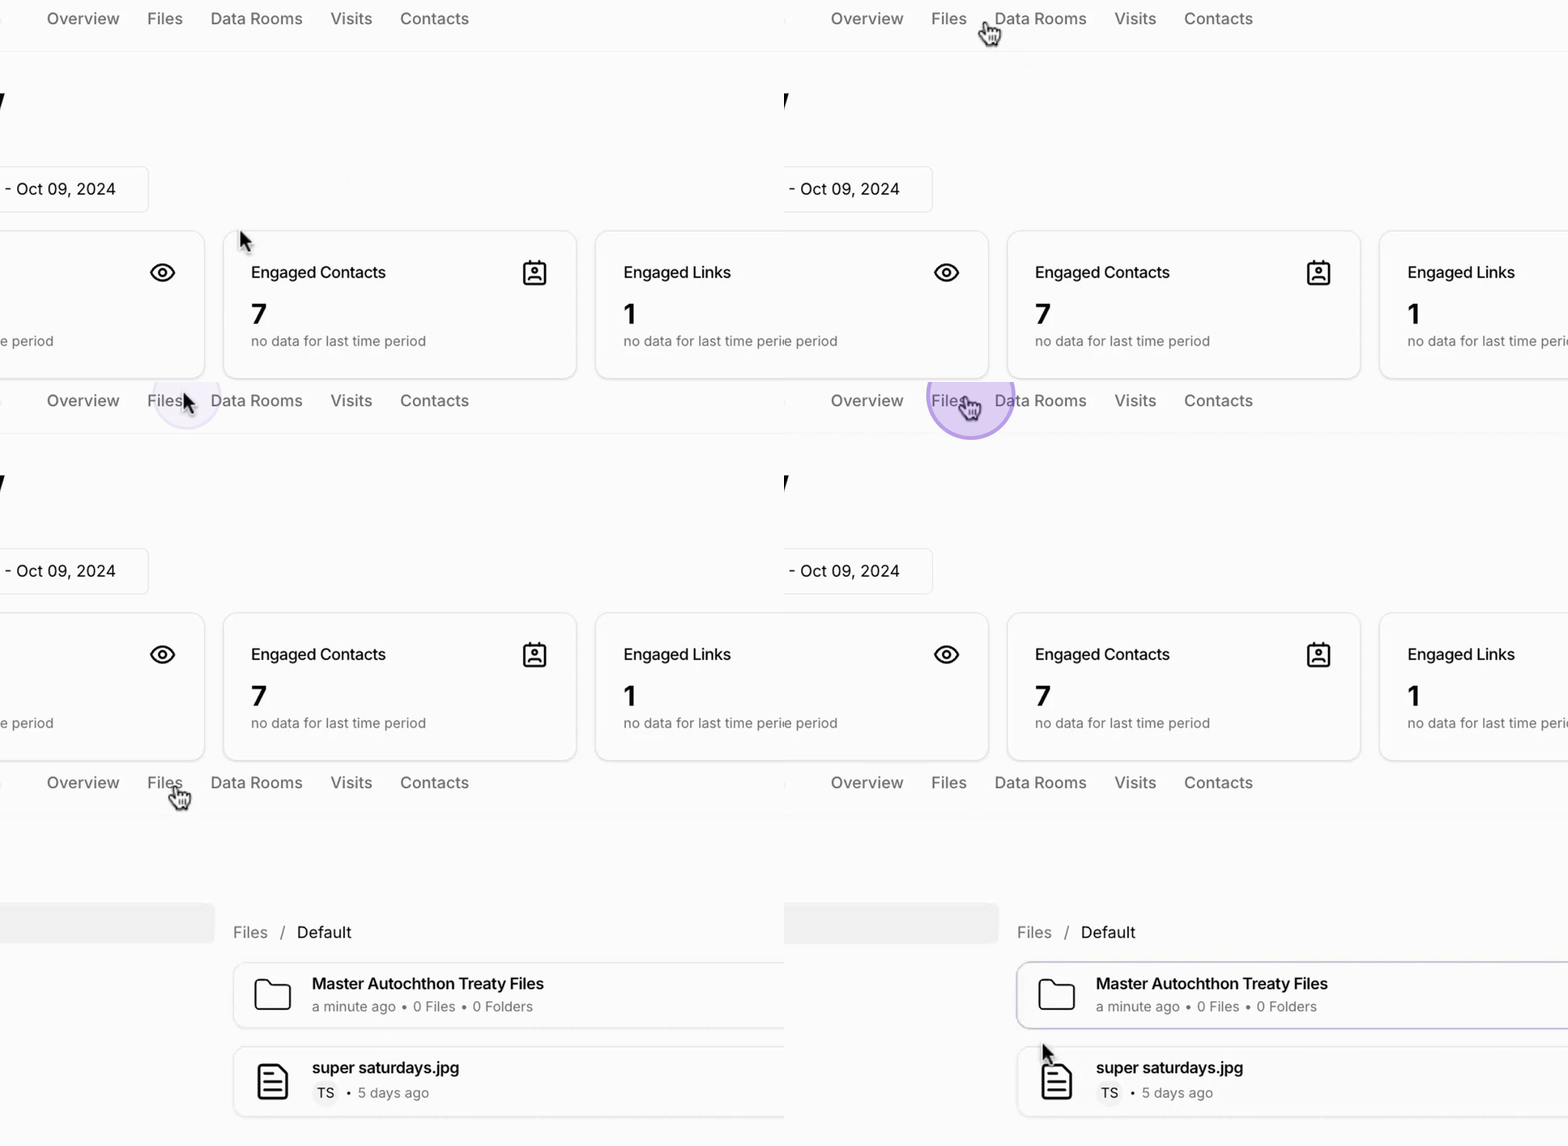
Upon accessing the system, you will find several menus at the top: Overview, Files, Data Room Visits, and Contacts. The Overview option presents a dashboard displaying activity related to your files.

The Files section lists all the files you have added. You can create master files that are accessible to all users.

Users have the capability to move these files into their own folders, facilitating organization of Toctin Treaty files and other materials.
The Copyright Data Room section is where you can locate your actual private data repository.

By clicking on a name, special groups can be formed, granting exclusive access to those groups for the files. Once clicked, the relevant files will be displayed.

To upload a file, hit the Upload File button. Please note, acceptable file types include various document formats; however, sound and movie files are not supported.

After clicking Browse Files and selecting a file you wish to upload, proceed by hitting Upload File to save it into your folder.

Once uploaded, you will see the file listed in your folder.
You can create new folders using the designated button and upload files using the upload option accordingly.
To generate a link for sharing the folder, utilize the Create Link button. Remember, without creating a link, you will not be able to share your folders.
By following these steps, you can efficiently manage your private data repository binder, ensuring organization, accessibility, and sharing capabilities.
